Happy Wednesday, lovelies!
I get so many questions daily about how I create my Instagram flatlays so I thought I’d share all my tips (and secrets-shhh!) to create the perfect flatlay in a blog post. I hope you all are as excited as I am! It’s definitely been a long time coming and I have so much information to share! I’ve decided to make this a two part mini-series. Today, I will sharing all of my tips and giving examples of some of the flatlays that I’ve created. Next Wednesday, I will be sharing a step by step tutorial on how to create the peerfect flatlay! Enjoy 🙂
How to Create the Perfect Flatlay – Part One
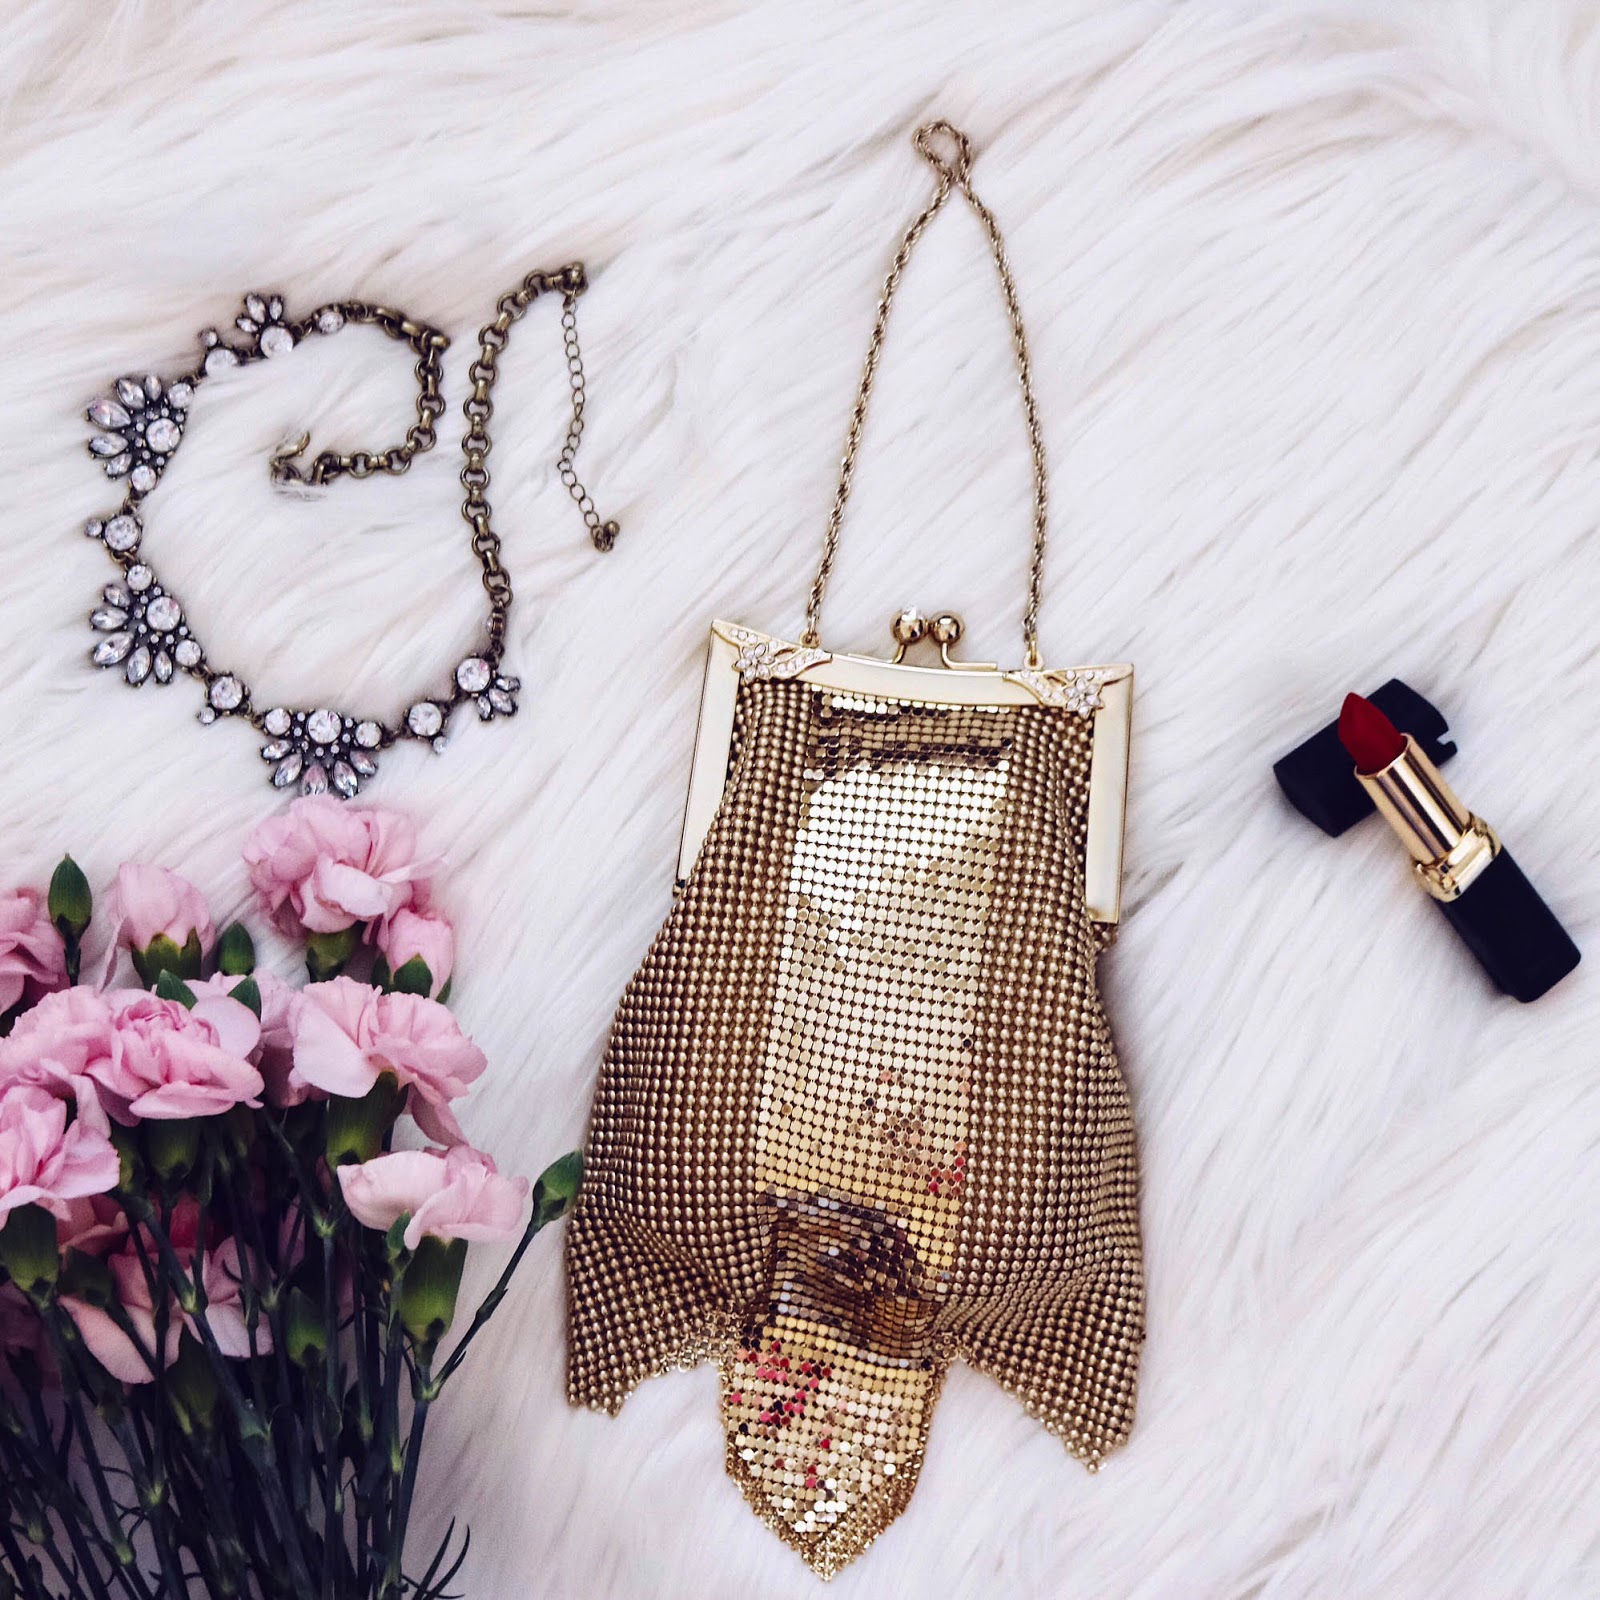
5 items (hero item is the Whiting & Davis purse)

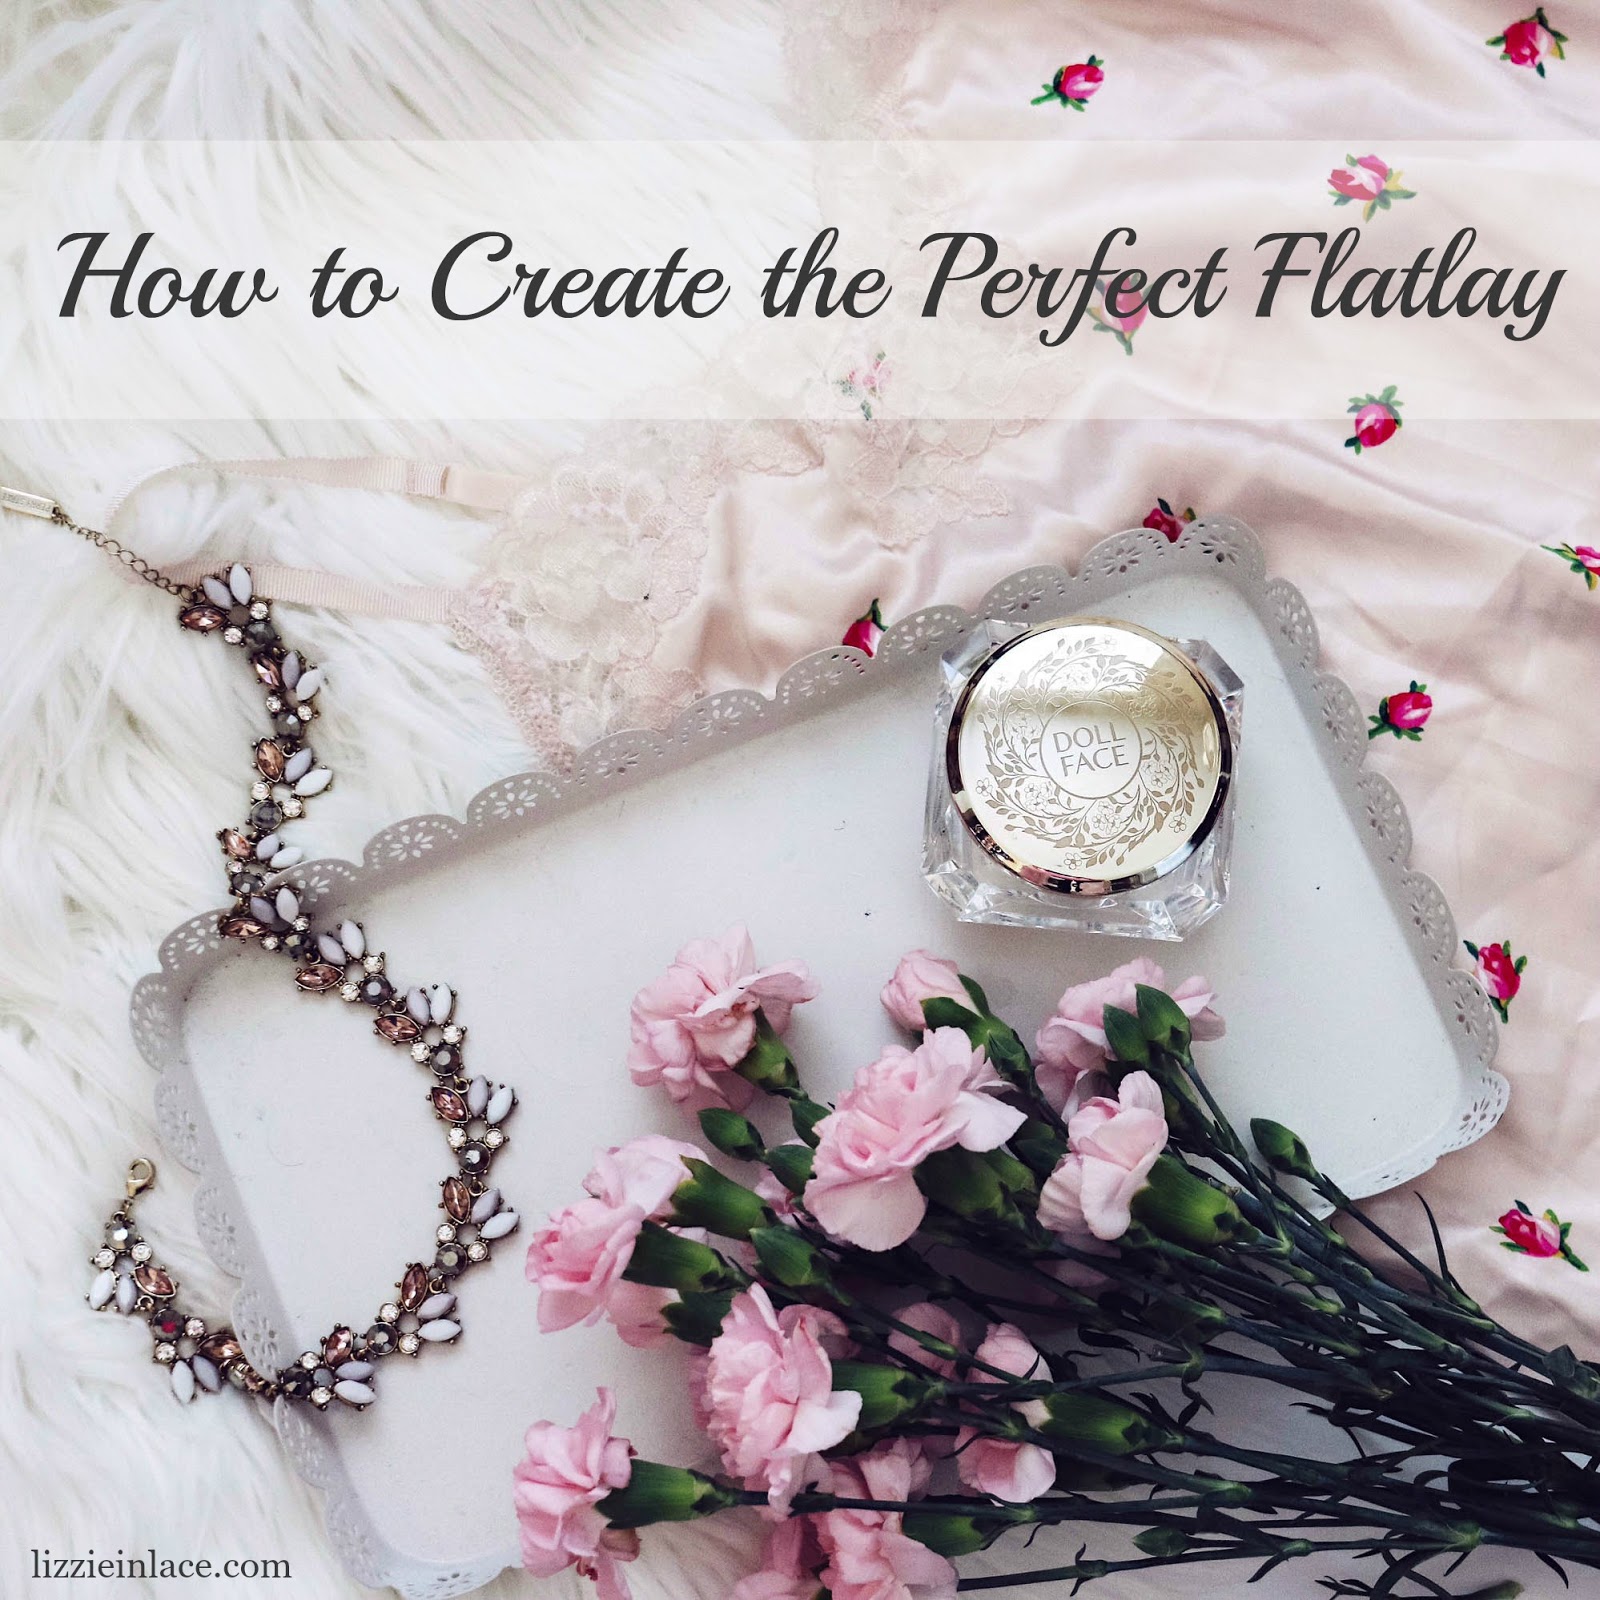
5 items (hero item is the Doll Face mask)
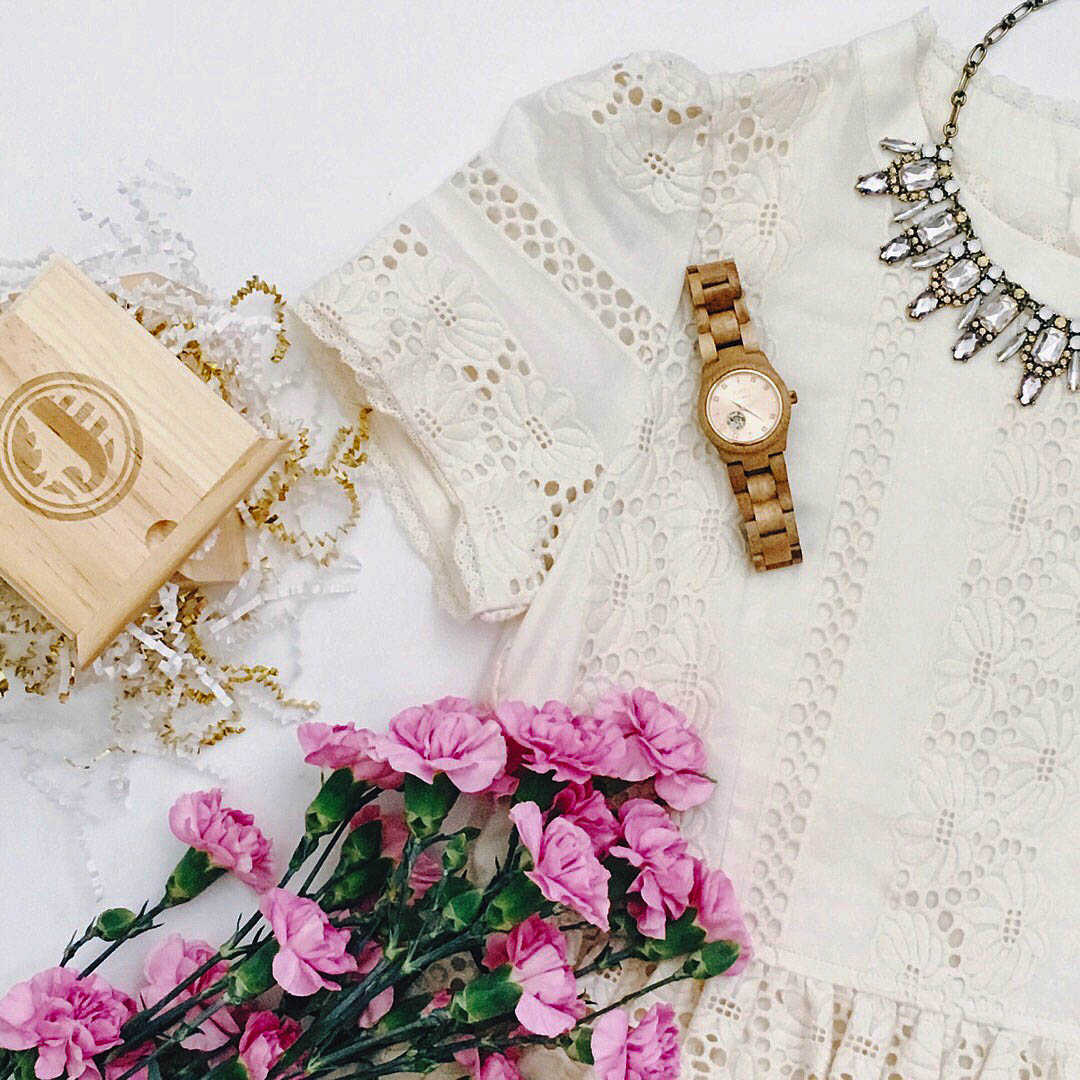
5 items (hero item is the Jord watch)

4 items (hero item is the eye mask)
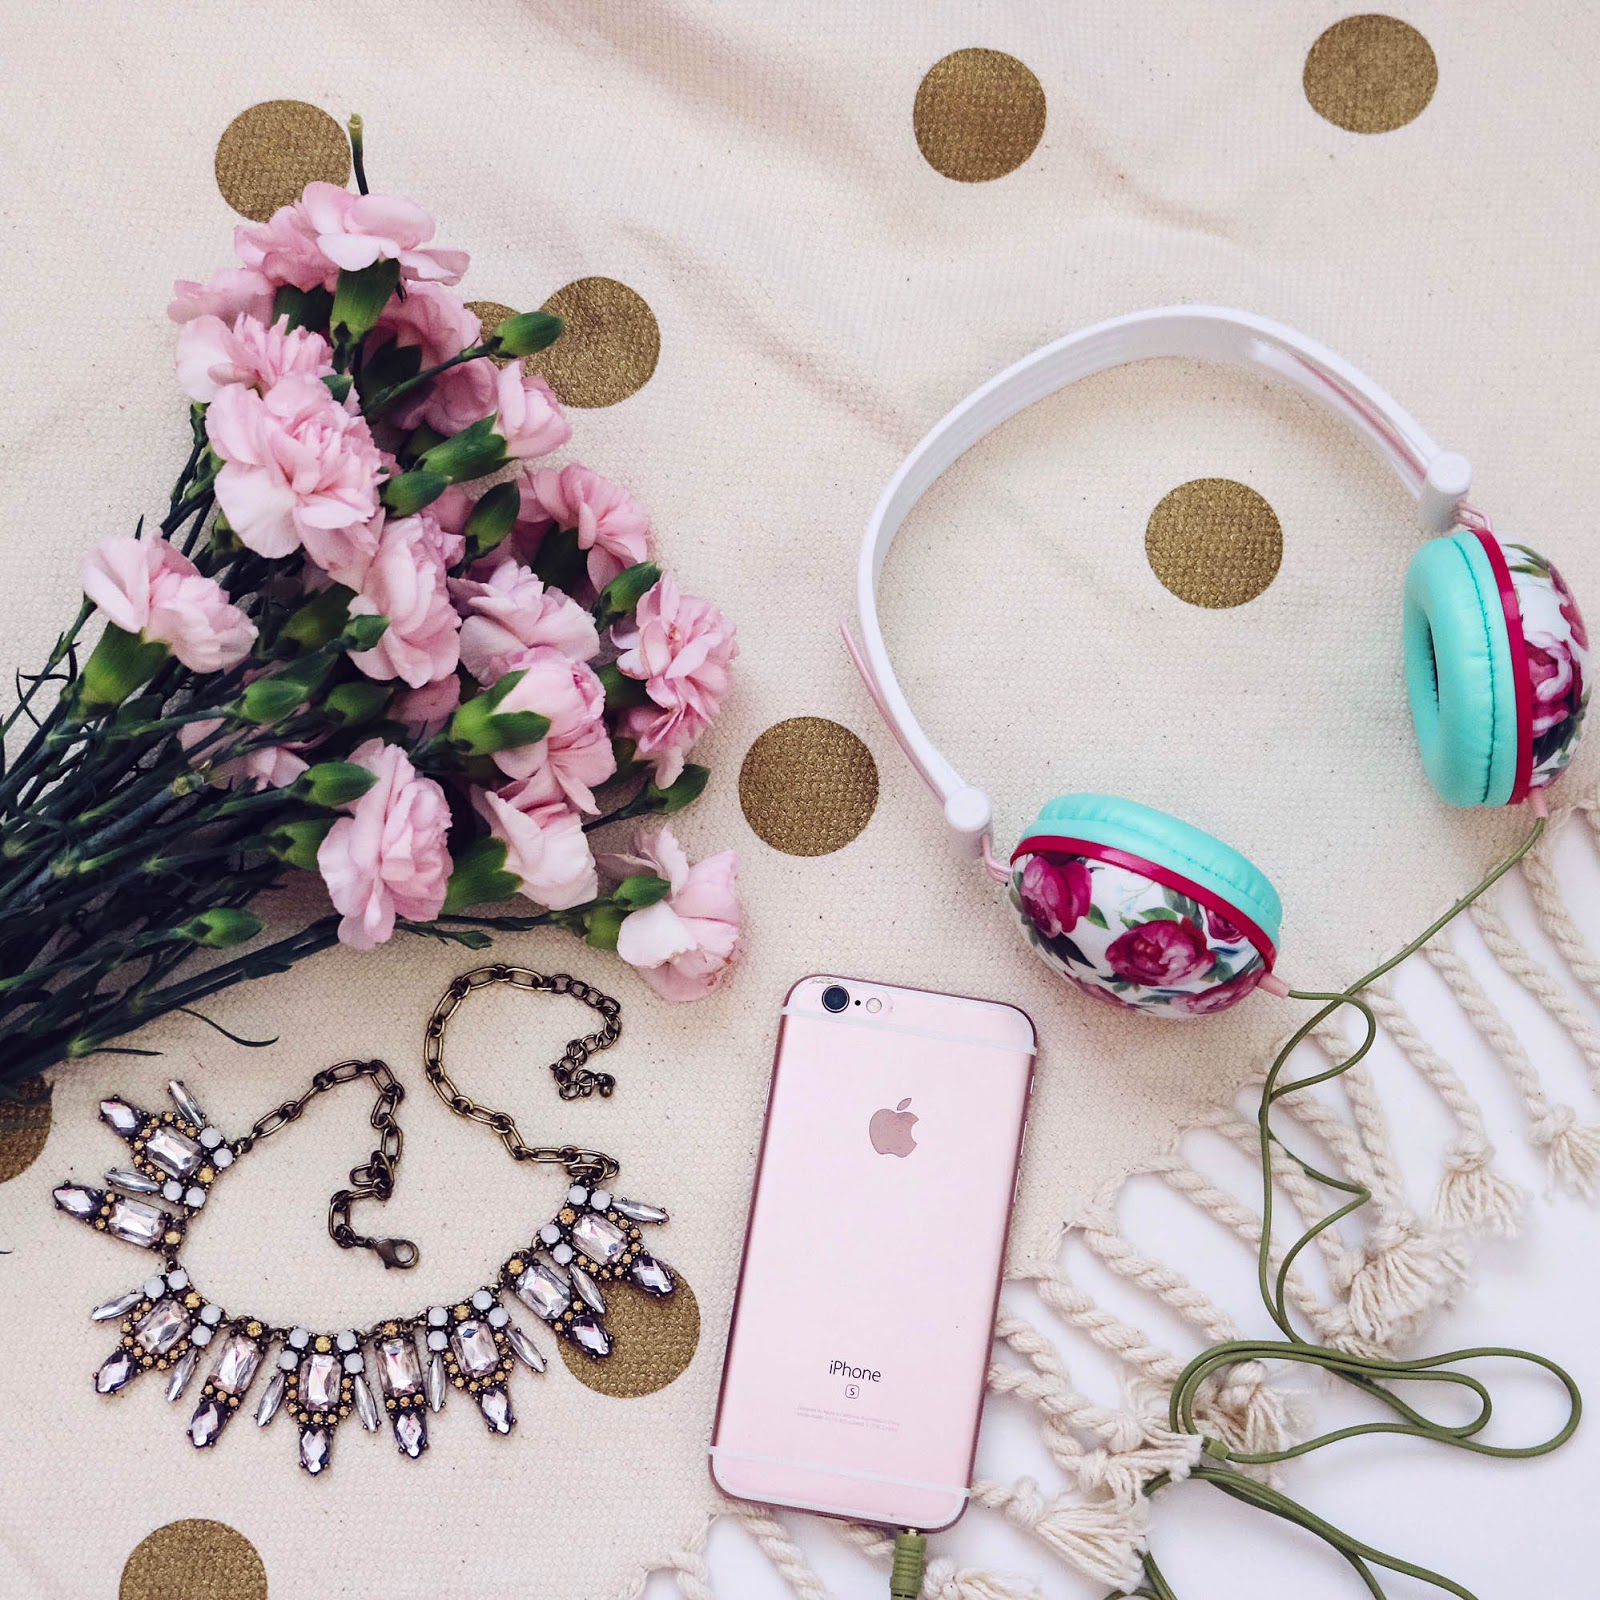
5 items (hero item is both the Ankit headphones and blanket)
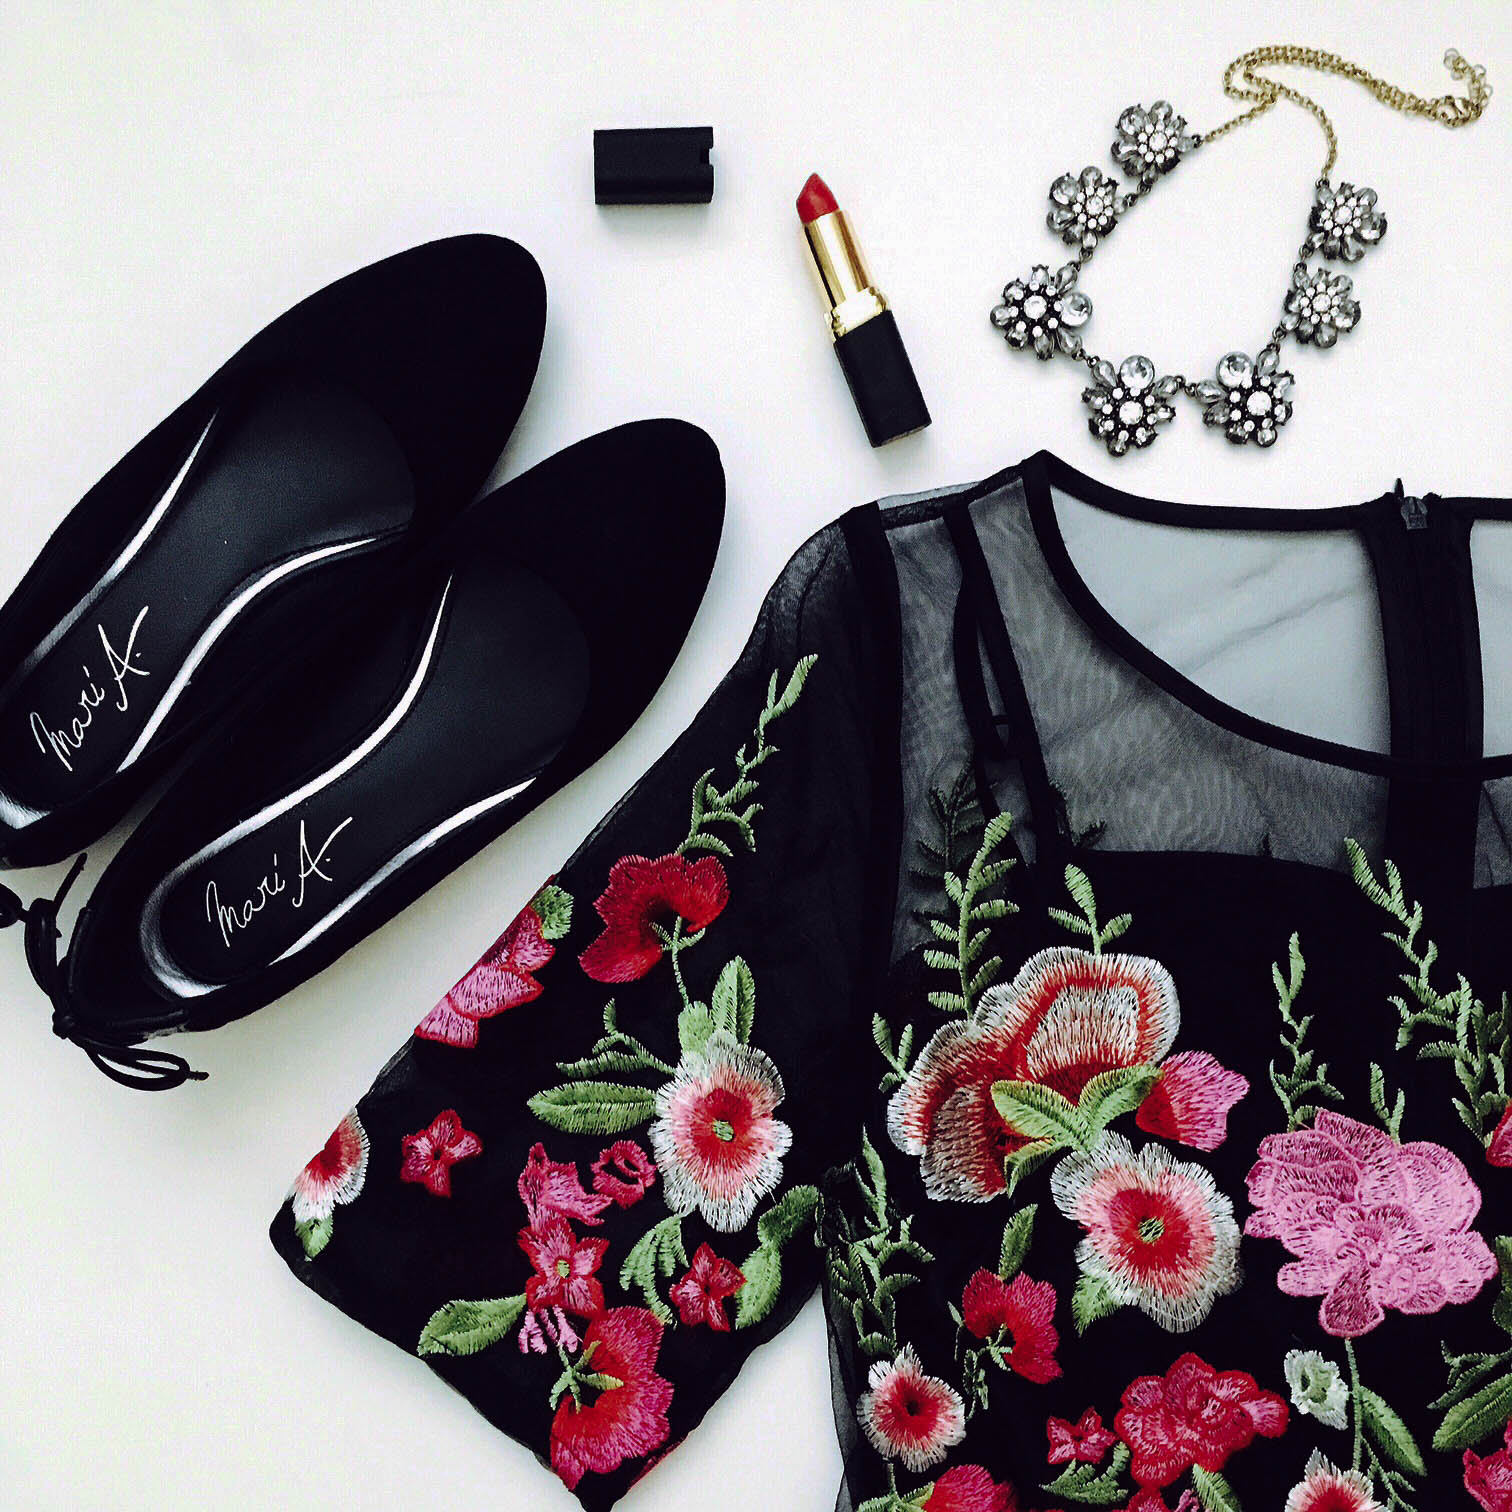
4 items (hero item is the pair of Mari.A flats)

4 items (hero item is both the Rocksbox ring and necklace)

6 items (hero item is the Air Pufs in my heels)
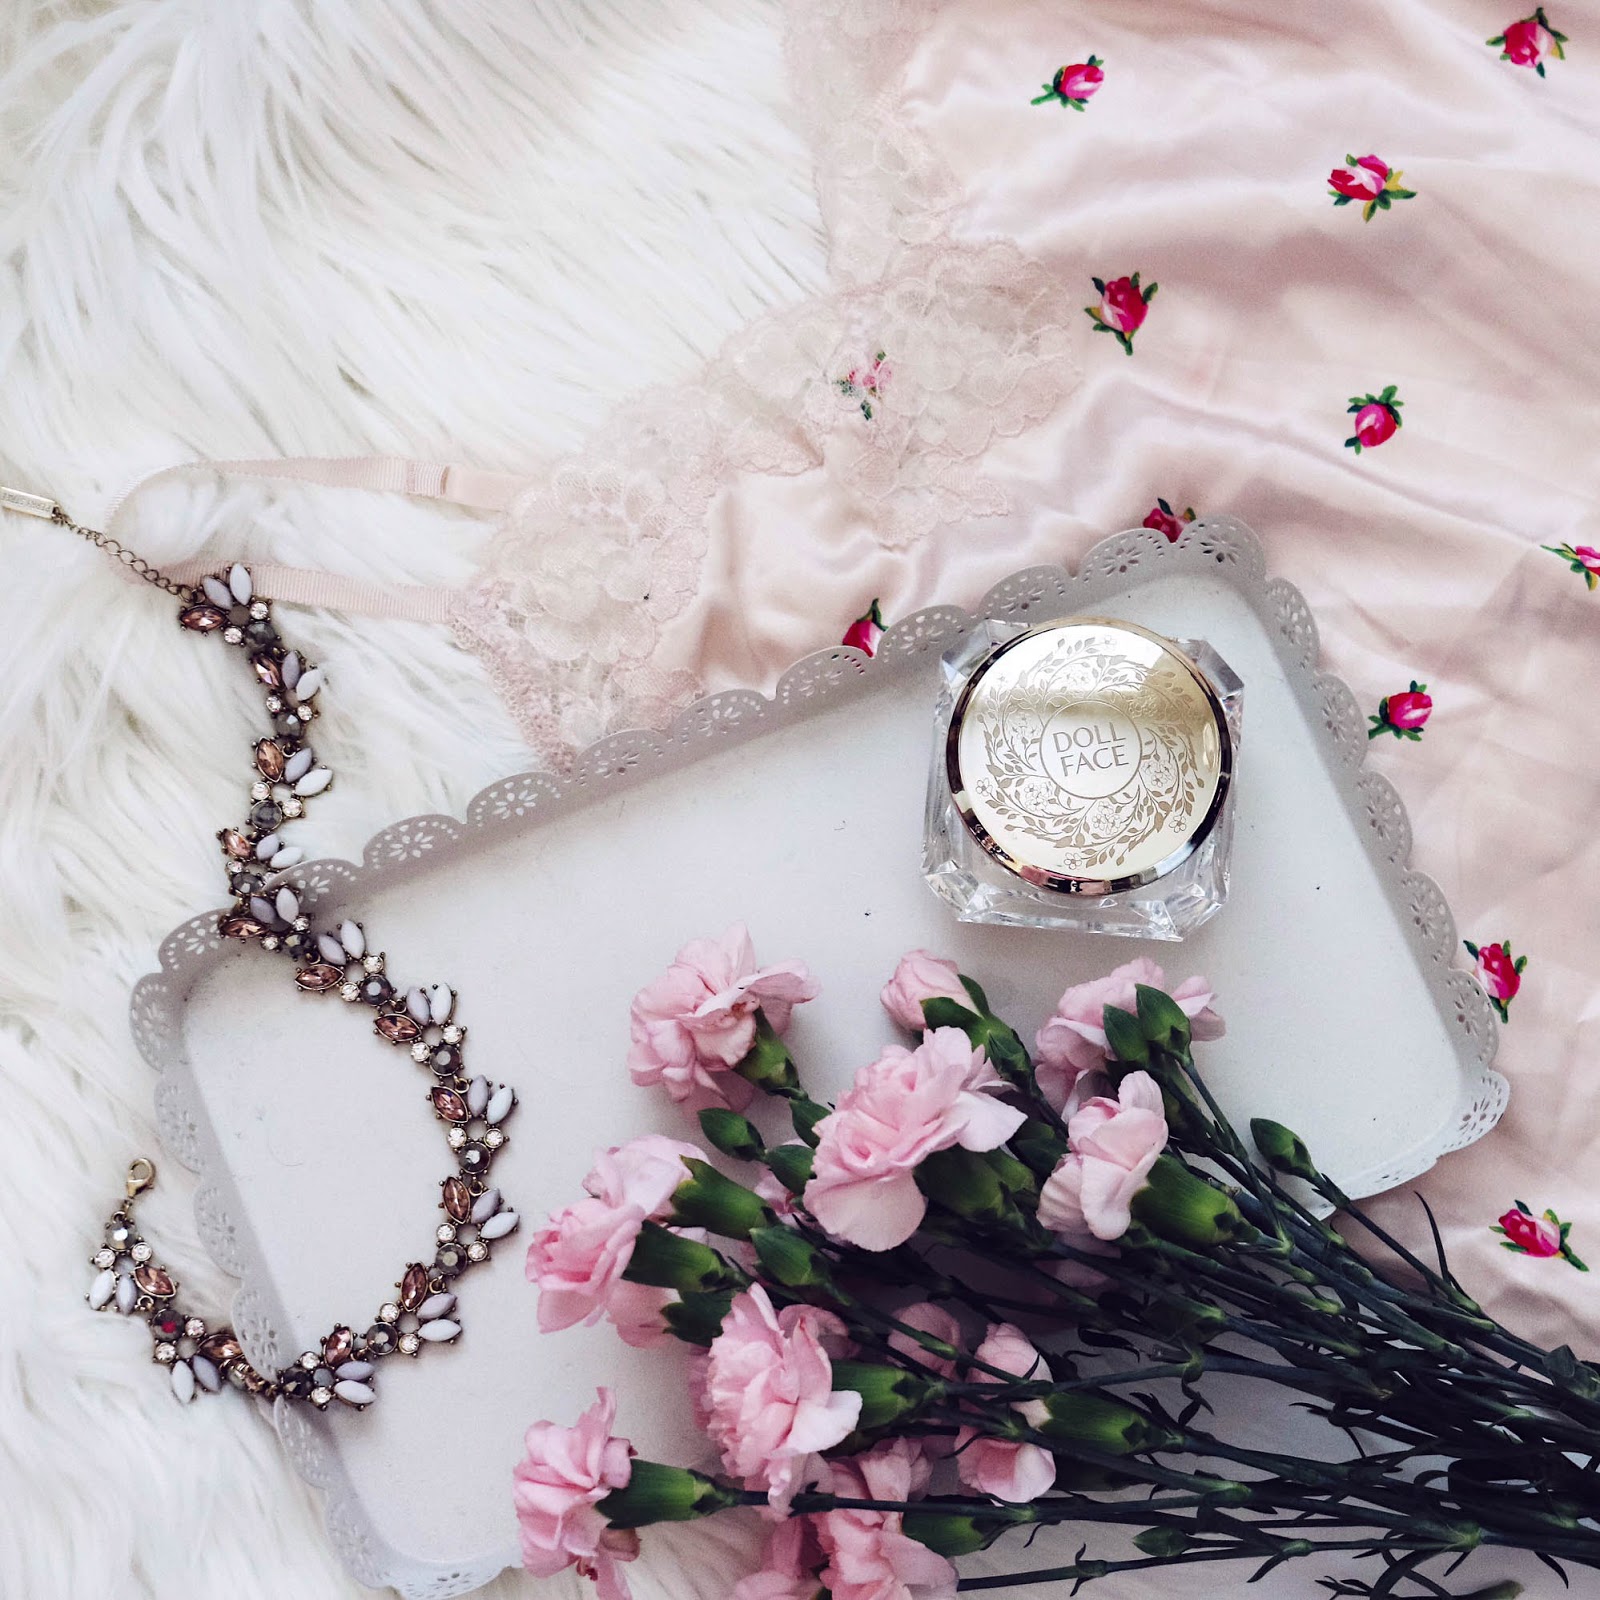
5 items (hero item is the Doll Face cream)

4 items (hero item is the pair of Roberto Durville heels)

5 items (hero item is the Palladio lipstick)

4 items (hero item is the Great Lookz fascinator)

4 items (not including my hand since the ring is essentially “part” of it) (hero item is the Rocksbox necklace and ring)
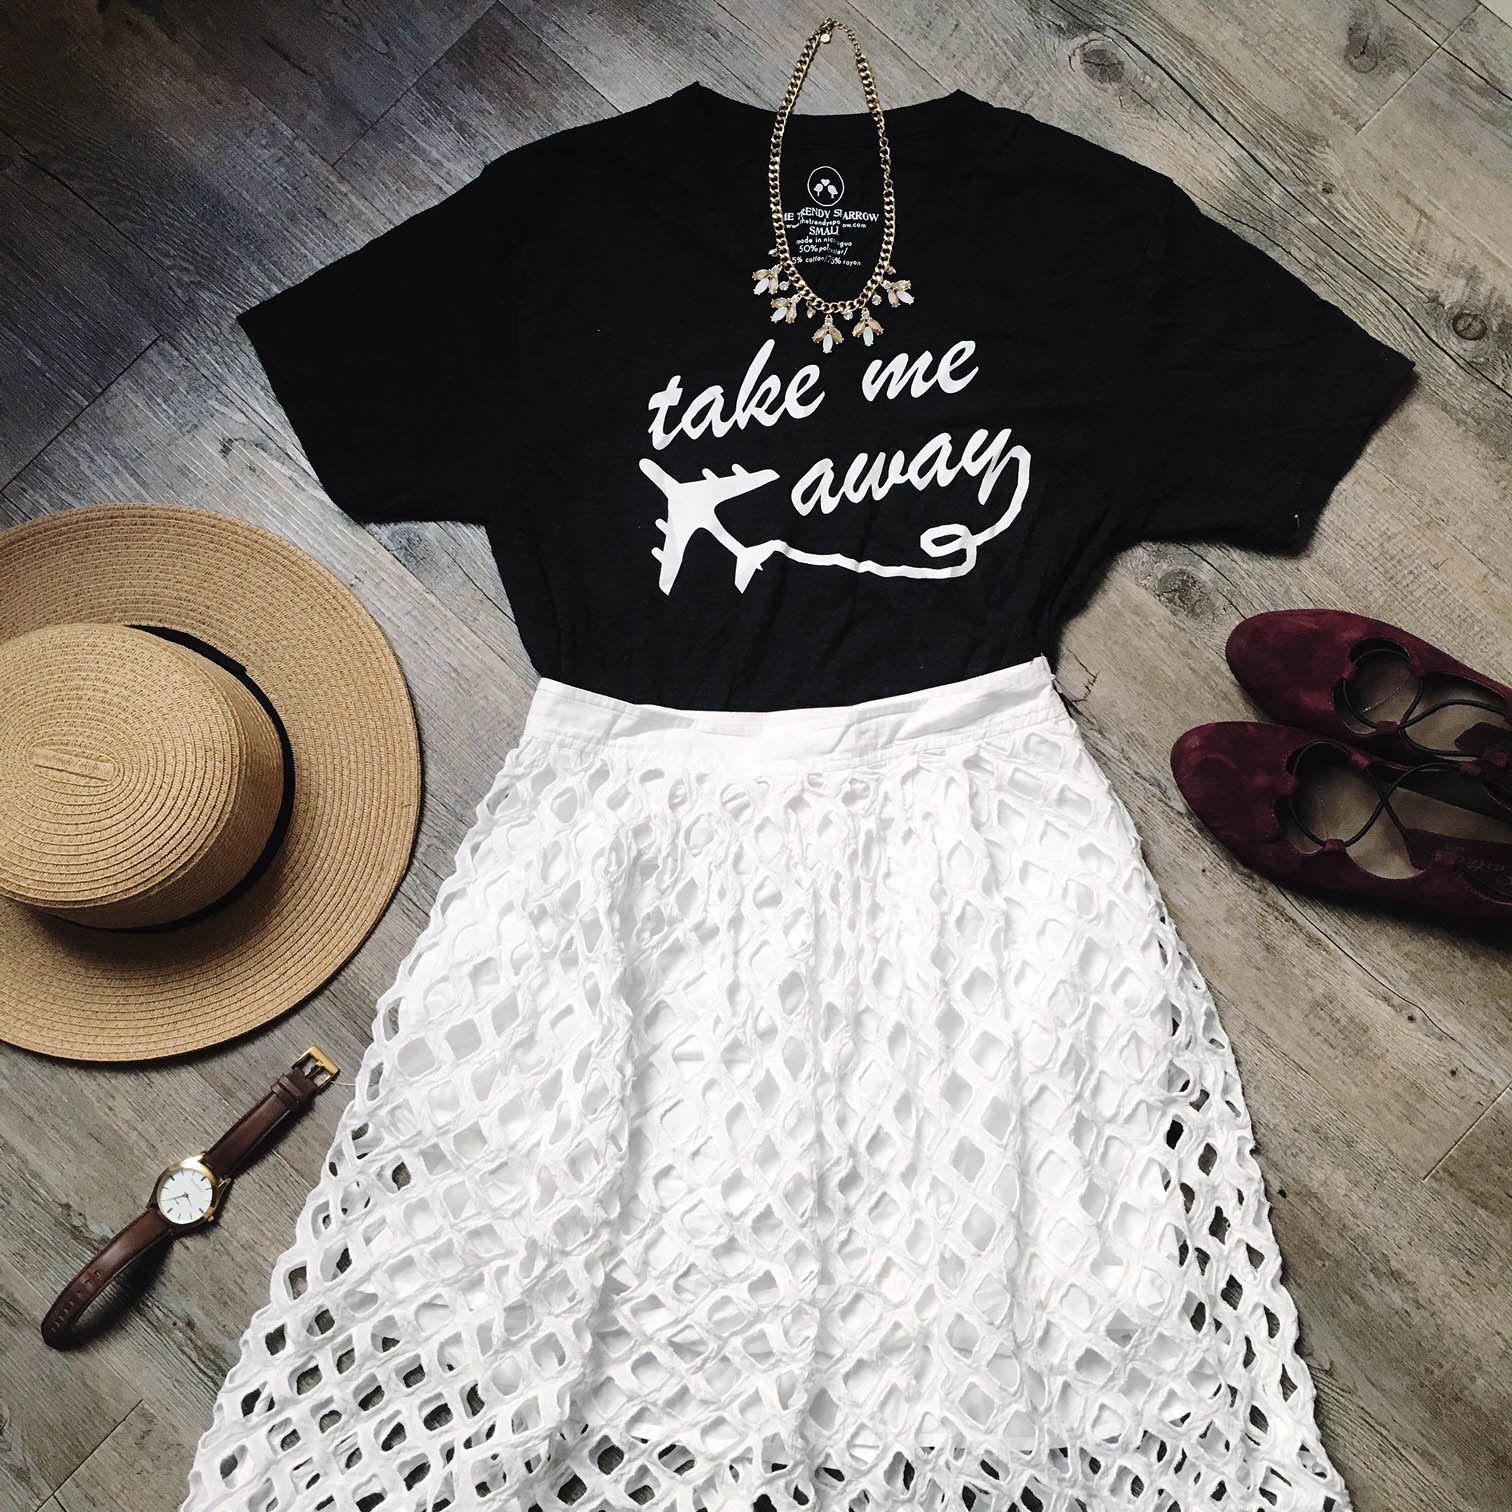
6 items (hero item is the Trendy Sparrow tee)
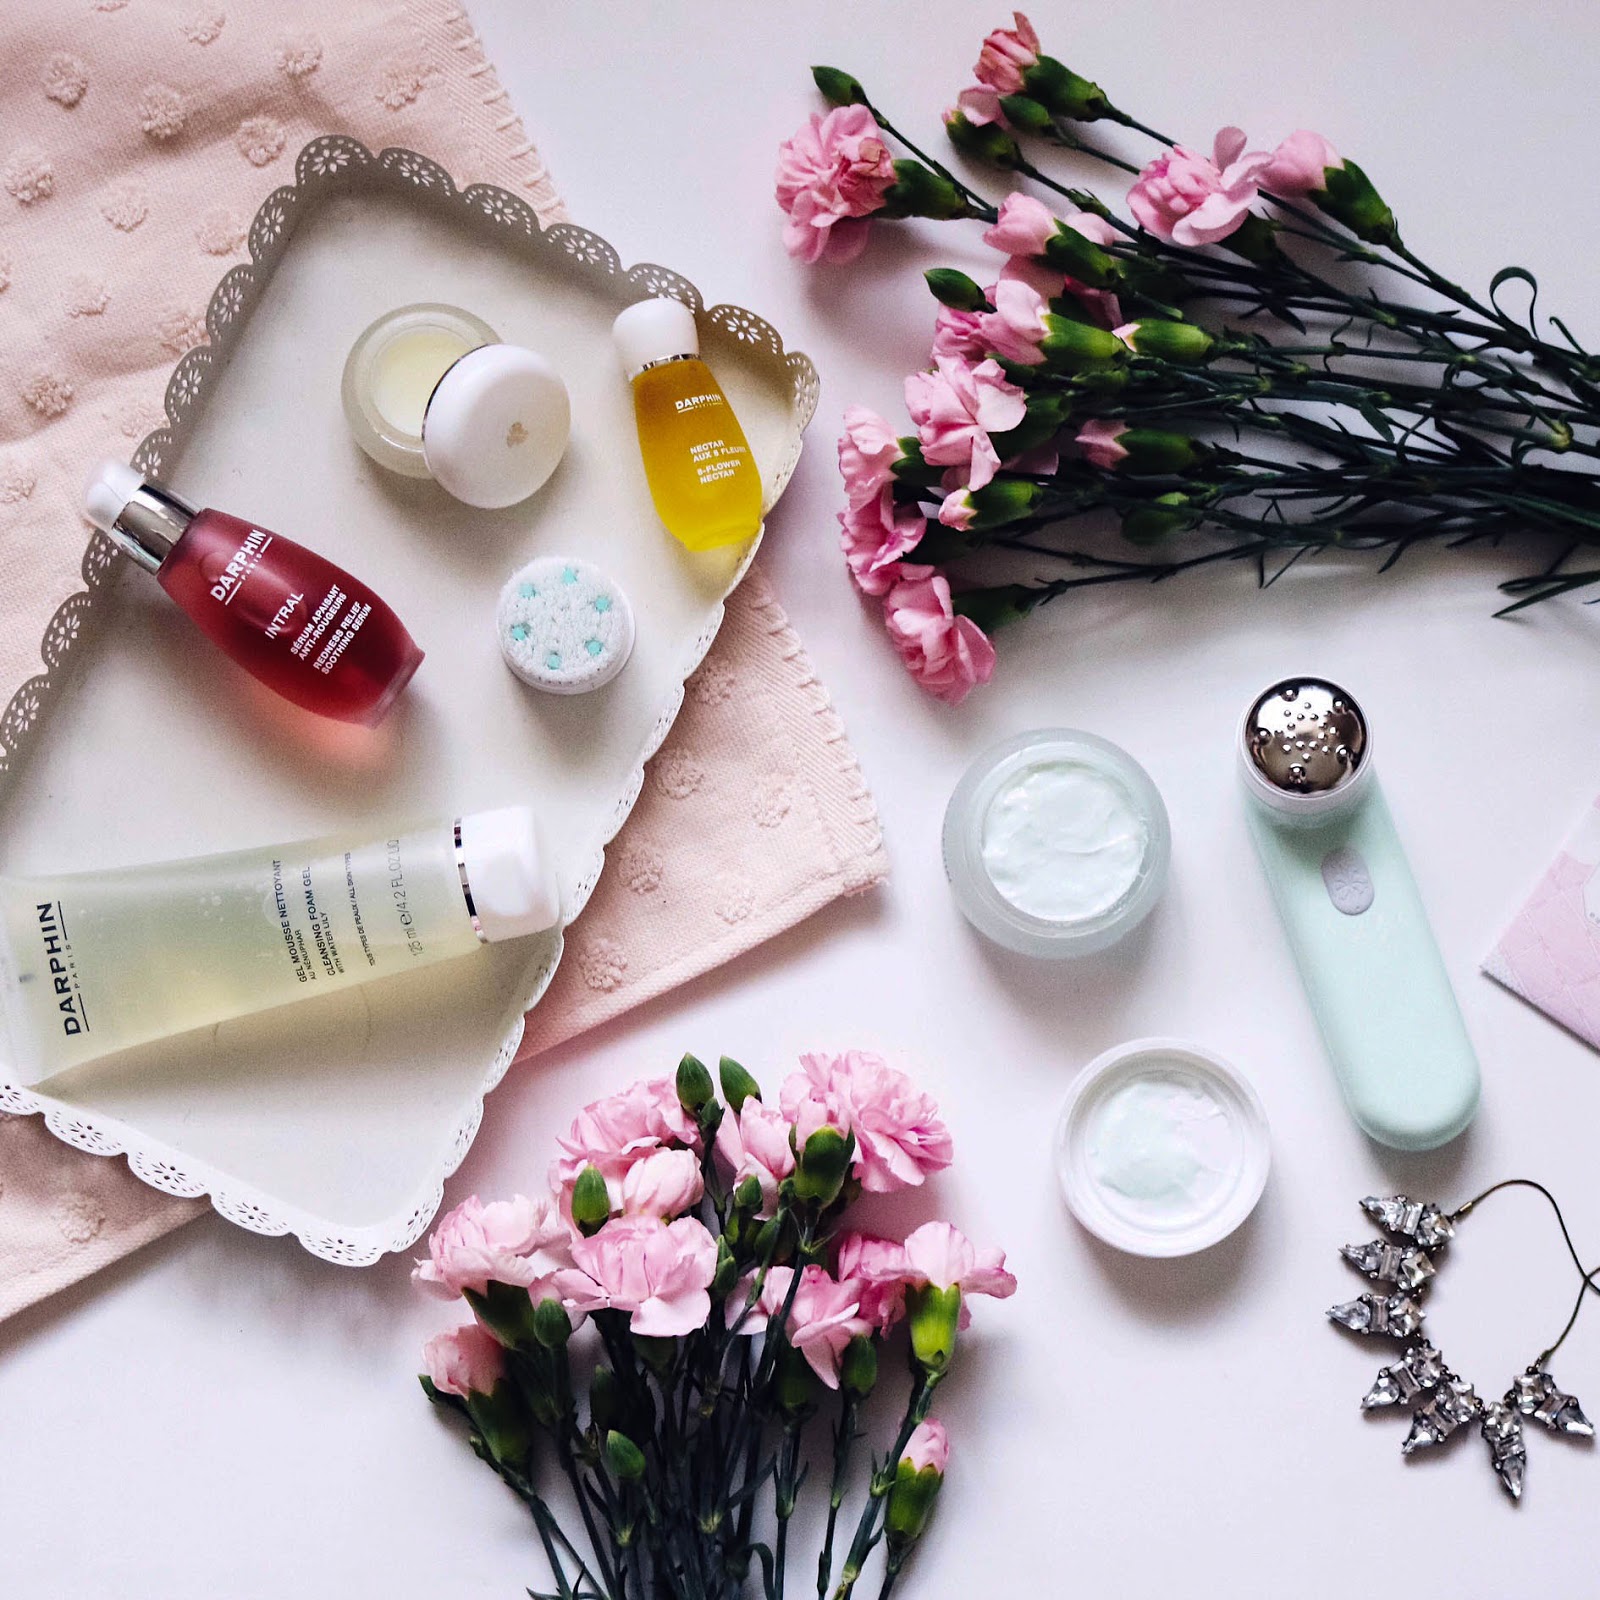
14 items (hero items are the ALL of the Darphin skincare products)

13ish items (it’s complicated because a few are open) (hero items are ALL of the 13 Month make up)
HOW TO CREATE THE PERFECT FLATLAY
Let me start out by saying that I am not an expert by any means, but I do have a definite flatlay “style.” I created my first flatlay in late August of 2015. It consisted of a strawberry print dress and a statement necklace and was created for marketing purposes when I sold Lularoe. Looking back, I cringe…but at the same time, it was essential for growth. My flatlay technique is not something that I have “learned” but rather something I have experimented with through trial and error and created for myself. I do think that my extensive background in art has been helpful in this process as I am just a naturally creative person, but you definitely don’t need to be an art pro to create a great flatlay. All you need is patience and a little creativity! 🙂
Side note: When I rebranded, I really looked into who I was as a blogger, what my blog was intended for, who my readers are, what my brand was and what kind of environment I wanted to create. I have been very intentional about all of this to ensure that everything goes together nicely in everyway (flatlays, outfits, details shots, the occasional travel shot). I think this is super important not only in terms of flatlays, but for a completely seamless currated Instagram account (which I’ll get to later down the road when I create my Instagram workshop). To see what I mean, be sure to visit my Instagram here!
Let’s begin!
Create The Perfect Flatlay Background
I’ll let you in on a little secret of mine. You know that lovely white background that looks super clean and just makes everything pop? It’s actually a presentation board…one of those thick boards that you probably used for one of your school projects. I got mine for $2-3 at Target and it makes such a difference! If plain white is not your thing, no problem! There are other color options as well. You can also make your own design on the board or buy contact paper with wood, marble or any other design you can think of!
Why this simple white board, do you ask? Well, our apartment actually has wood floors and granite countertops (you think it would be perfect, right?) BUT the lighting is horrific and I don’t think that it matches my feed because they are both dark and I prefer light colors. The white board, on the other hand, is portable and I can usually get the lighting just perfect! Plus, I can create any kind of environment I want! Also, when I shoot a flatlay, I am concentrating on the items photographed and prefer to have a simpler background instead of a busy one that might compete with the items. This is a personal choice and I have seen some amazing flatlays on every kind of background you can imagine. I do think that it can work well if your items should look like they belong in that environment and if the flatlay photo works well with your branding and Instagram feed.
For a long time, I used only the white background but as I experiment with my shots and become more confident in my photography, I am finding that I like to add dimension and texture with an additional item in the background. Think of it as a monochrome outfit. Texture is the key! I love to use lace, faux fur, and patterned blankets/towels in a similar or soft color so that it doesn’t distract from the items I’m photographing. You may be surprised to know that the bits of lace and faux fur in the photos above are actually from my clothing items! I used the bottom of a ruffled lace dress and the bottom of my faux fur coat from this post.
Create The Perfect Flatlay Composition
The way you arrange items is super important! You want to be sure that it is pleasing to the eye and that it is interesting to look at. You want it to look pretty all together (and make sense) but at the same time, the eye should be bouncing around to different items taking it all in.
Questions to ask yourself: Do you prefer something orderly and symmetrical or something organic and imperfect? Do you like the look of close ups or prefer to have a full spread (ie. an outfit layout)? Do you prefer something more simple (less than 5 items-ish) or something more complicated (more items)? This is dependent on the aesthetic of your account and branding and what will work well with it. My best advice is to experiment with different ways and see what works best for you! Don’t feel that you have to only do it a certain way either! Mix it up and have fun 🙂
Choosing Your Flatlay Hero Item
First things first: It is vital to have a “hero” item. When I am sent items to promote, especially beauty items, I love to photograph them in flatlay form. I will choose one item to be the star of the photo and will choose various “props” to create an ideal environment for that item to live in. If you look at the above photos, I have included the “hero” item for each. (Also, check out the surrounding items in the photos and see how they play off of each other.) I try to make this item front and center (usually) and attempt to bring the eye toward the item. It is also never cut off in the photo.
For example, if I was promoting a face cream or serum, I might add a pretty face towel, my beauty tray, and a sparkly necklace (with the possibility of fresh flowers because I loooooveeee my flowers!). All the items make sense together and it creates an environment for this product to exist in. Another way I could do it is by adding a bit of fur in the background (giving the impression of blanket) and layering a pretty silk chemise, eye mask and perfume. This gives the idea that I am getting ready for bed and again, all of these items make sense. One last way is to create a morning environment. Maybe I add a cute tray with a pretty tea cup filled with tea and a lemon slice, a lovely lipstick, piece of jewelry and fresh flowers. This implies that I am getting ready for the day and the items still make sense together. Just like you build an outfit around a certain piece, build your flatlay around a certain piece. You want it to tell a story. Above all, be creative and willing to experiment!
The Perfect Flatlay: Orderly or Organic?
I love picture perfect flatlays where everything is symmetrical or in order, however, I also love the look of things just sprawled about in a pretty way. For my account, I use both but definitely use the organic approach more. Here’s why: I want it to look more realistic and approachable. I want it to look like a semi-organized countertop full of make up products that I just used or like I’ve just laid out my outfit for the day and I’m sending a photo to show my bestie. There is no right way so definitely experiment and do what feels right for you.
The Perfect Flatlay: Close-up or Full Spread?
Again, I love both approaches. I personally love the tight close up shots because I am a very detail oriented person. I also feel that closer shots make my feed a little less busy and allow it some breathing room. Again, a personal choice and both can work depending on how you want your feed to work.
The Perfect Flatlay: Simple or Complicated?
Up until recently, I have done simple compositions consisting of 4-5 pieces. I have been experimenting with more complicated layouts consisting of multiple products and have been loving it! I like both and try to incorporate both into my feed. This is a personal choice and dependent on how comfortable you feel creating the composition.
What do I count as an item? Everything except the white board. I include all clothing, jewelry, beauty products, flowers (one single or a small bouquet) and other props such as a tray, a cup, and even the lace or fur in the background. If you are new to flatlays, pick 4-5 items.
How to arrange items:
First, figure out if you want an orderly layout or an organic composition. Personally, I do not have a set formula. I pick my items and make sure they look good together (also be mindful of colors). Then I will arrange them in multiple ways. I probably take about 5 different layout shots before I choose the one that I think will fit into my feed the best.
What do I shoot with?
To be honest, the majority of my flatlays were taken with my iPhone. It takes a nice clear photo and is easy to use. I just upgraded my camera a few months ago and have been using that for the more recent shots only because I have been experimenting with new editing techniques and using it as practice. Don’t feel that you need any fancy equipment though. A phone camera is perfect for the job!
How to Create The Perfect Flatlay: Do’s and Don’ts
*Do be intentional with your flatlay compositions and arrangements (and make sure that the items make sense together!)
*Don’t just throw random things on the floor and take a photo (be concise and make it flow nicely)
*Do make sure that your “hero” item stands out (and only pick ONE item to start)
*Don’t put random things together that don’t make sense.
*Do choose a place near a well-lit window with natural light to take your photos
*Don’t take photos in a room lit with lightbulbs (it will create a yellow tint on your beautiful photos)
*Do take multiple shots in different ways
*Don’t post just any shot to your account (as with any photo you post to Instagram, be sure that it is intentional, is something you are proud of and is true to your brand)
*Do be sure that your photo is clear and in focus (especially when working with brands)
*Don’t post a photo that is super blurry (trust me, people will notice)
*Do experiment with everything: composition, background, items, colors, etc.
*Don’t post something that you do not truly love
*Do be patient and know that practice makes perfect. Don’t forget to have fun!! 🙂
I hope you all have enjoyed this post! Don’t forget to share and pin if this has helped you. It is so appreciated! If you loved today’s post, be sure to stop by next Wednesday for a detailed tutorial on how to create the perfect flatlay. See ya Friday for the link up!
Have a great day!
xo

Thanks for sharing all your secrets with flat lays! All of these here are amazing. Can’t wait to read part 2 of this series!
http://www.kathrineeldridge.com
SUCH great tips! I totally such at creating flat lays so these are so helpful!
Annessa
http://www.seekingsunshine.com
Perfect! Flatlays are a hit or miss for me lol still working on it!
These are fantastic tips! Didn’t even think about getting a presentation board to make it way easier than a table cloth 😀
Great tips! I’ve been thinking of doing more flat lays for my fashion posts and will refer back to your post for inspiration. Thanks!
http://www.flashesofdelight.com
These are all so cute, I love that eye mask
xo
http://www.laurajaneatelier.com
I am not the best at flatlays!! Great tips!
these are great tips. I havery yet to do thsee type of pictures on Instagram but I hope that one day I will have time to do this. these are beautiful pictures.
Thank you for your recommendations! You indeed have the best flatlays on your Instagram! Hope you have the best week so far and hope to see a new flatlay soon! Xx Susanne – http://bagatyou.com
Awesome tips! I have a flatlay post in the works too. It’s great to see how someone else does theirs. Thanks for sharing!
Wonderful tips! I love the flatlays you created! =)
– Cielo
Mermaid in Heels
these are so helpful! i love your flatlays and really want to try the close-up style shots more!
http://www.layersofchic.com
Thank you for this post! I have been wanting to create more flatlay photos and you gave much information!
Isaly Holland | http://www.memoriesbyisaly.com
These are really great tips! Thanks for sharing them!! All of your photos look great!
xo
Alyssa
http://www.teddybearsandlipstick.com
I have to start off saying, I really suck at flat lays, for some reason they always look so awful. Other photo styles, I can do. Thank you so much for posting this and sharing your examples. I’m printing this out for reference!
These are some super fab tips, Lizzie! I love that you don’t have a set formula for organizing your flay lays. Organic often makes it more original. :]
// ▲ itsCarmen.com ▲
What an amazing article, Lizzie. I am not very good at creating flatlays so I really appreciate your tutorial! have a wonderful day!!
X
Miri
httpw://currentlywearing.com
omg what an amazing read!! This has actually helped me so much, I’ve always been struggling with flat lays, thanks gal! xxx
Nice collection!
xo
http://www.angelemall.co.nz
Awesome tips! Thanks for sharing
http://thelondonthing.co.uk/winter-sun-escape-at-macdonald-monchique-algarve/
Very informative and helpful I haven’t quite mastered the flatlay yet so really appreciate the help!
Soph x
http://www.sophobsessed.com
Thank you for these tips! I love all your flatlays. That golden bag: wow!
Julia・Little Miss Haute Couture
This is so helpful! I need to get practicing!
Rachel | The Confused Millennial
This helps a ton. My instagram game is pretty terrible lol. Thank you!
These are beautiful! I’m still working on my flatlay game
Your flatlays are so gorgeous and clean and they feel so glitzy. I have sooo many different poster boards that I for backgrounds… they work so well! I love how you use so many fresh flowers, it makes the photos look so pretty!
Denise | Fashion Love Letters
wow you are really good at this! I just bought a poster board to make better pictures! thanks for your tips!
These are wonderful tips!! I’m glad I found your blog.
http://abeautifulheart07.blogspot.com/
Great examples! I love your photos.
Omg! This is a fabulous post. Such great info on flat lays. Your creative eye is on point. Love each of your pics, so lovely!
Great post. I am terrible at flatlays!
Amy Ann
Straight A Style
Oh, my goodness! You are soo GOOD at this! Wow, if you taught a live workshop I would be there!
xo Debbie | http://www.tothineownstylebetrue.com
Great tips! I could definitely improve in this area.
I love your IG feed! Thanks so much for sharing your tips. I have just started working on being a better and more intentional photographer so this is very helpful, particularly the part about having a “hero” item.
Love this SO much Babe!!! You are a flatlay Queen! Thanks for the Tips and Inspo!
Xx Brandi
http://www.brandilocks.com
You had definitely master the flat lay! I am keeping this close to refer back to! Thanks for sharing! XO, Ellese
Rock.Paper.Glam.
This is a great post! What fab tips! I love a good flatlay, but mostly just do clothing and accessories. You have definitely inspired me to branch out!
xo Ashley
These are such great points, Liz!! Thanks so much for sharing your expertise! They really are artwork!
jodie
http://www.jtouchofstyle.com
Yay! Thanks for the tips! I have always been afraid of shooting flat-lays. Now I can go about doing it with a little more confidence! xo
These are great! I have not taken that many flatlays, but I am sure more are coming my way and this helps so much!
xx nicole
http://www.nicoleparise.com
What a great post! I’m trying to stay away from using stock photos and working on my flatlays myself. Thanks for this!
xoxo. Christina
http://www.xoxochristina.com
Your flat lays are all so pretty! And yes, all about that white board 😉
This was super helpful. I love the idea of using a white board and contact paper. What a cheap and easy solution.
These tips are amazing! I am new to blogging, and I’m still trying to get the flatlay down!
Xo,
Alexandra Christine Blog
http://www.alexandrachristineblog.com
Such great information! Will definitely be using these tips!
http://www.camilleiam.com
hi, do you sell the photos? Thanks
Hi Vany! I actually do sell product photos. Feel free to email me at lizzieinlace@gmail.com